Tuesday, July 16, 2013

Empanadas de las Monjas (Turnovers from the Nunnery)


Empanadas de las Monjas (Turnovers from the Nunnery)


I know you’re probably questioning the title, but honestly this recipe was given to my Cousin Gabby, who then gave it to my Tia Conchia, who originally got it from a Nun.


Growing up, we loved to stop by the Nunnery on our way to visiting our Grandparents in a small town in Texcate Mexico. The Nuns would make and sell these AMAZING little turnovers to make money for the church. They were light, sweet and flaky, the perfect little treat for us girls. Anywise, over the years I have thought often of these little pastries so I was pleasantly surprised when my Aunt came to visit this weekend and had the recipe with her! So this weekend, she shared the recipe with me. There were a few things about the recipe that didn’t make sense to me, so I made a few modifications. After testing out the new recipe, my Aunt was shocked how much better they tasted. The end result was these perfect little pastries filled with sweet filling and an amazing turnover crust!


I hope you give this recipe a try. They are definitely worth your time!


Empanadas de las Monjas

Makes 60-65 mini turnovers


Ingredients:

Turnover

1 ½ cups All- purpose Vegetable Shorting

1 cup unsalted butter

7 cups of flour

1/2 teaspoon salt

1- 12oz bottle of beer ((I used New Castle) (no idea what the nuns were doing with beer!)

½ cup half and half ( not in dough, but used to seal the pastries)


Filling (homemade filling) double recipe if your only making blueberry ones

2 cups frozen blueberries (thawed)

½ cup sugar

¼ teaspoon cinnamon

½ teaspoon lemon juice

2 ½ tablespoons cornstarch

2 tablespoons water

and

1 jar of fruit preserve (I used strawberry, do not use Jelly)


Or you can just use 2 jars of your favorite preserve)


Topping:

1 can of Sweetened Condensed Milk

½ cup Turbinado Sugar (or raw sugar would work)                                                                                                                                                                                                                                                                                                                                                                                                                                                                                                                                                                                                                                                                                                                                                                                                                                                                                                                                                                                                                                                                                                                                                                                                                                                                                                                                                                                                                                                                                                                                                                                                                                                                                                                                                                                                                                                                                                                                                                                                                                                                                                                                                                                                                                       


Directions:


Make the dough:

1. In a large bowl, whisk the flour with the salt. Set aside.
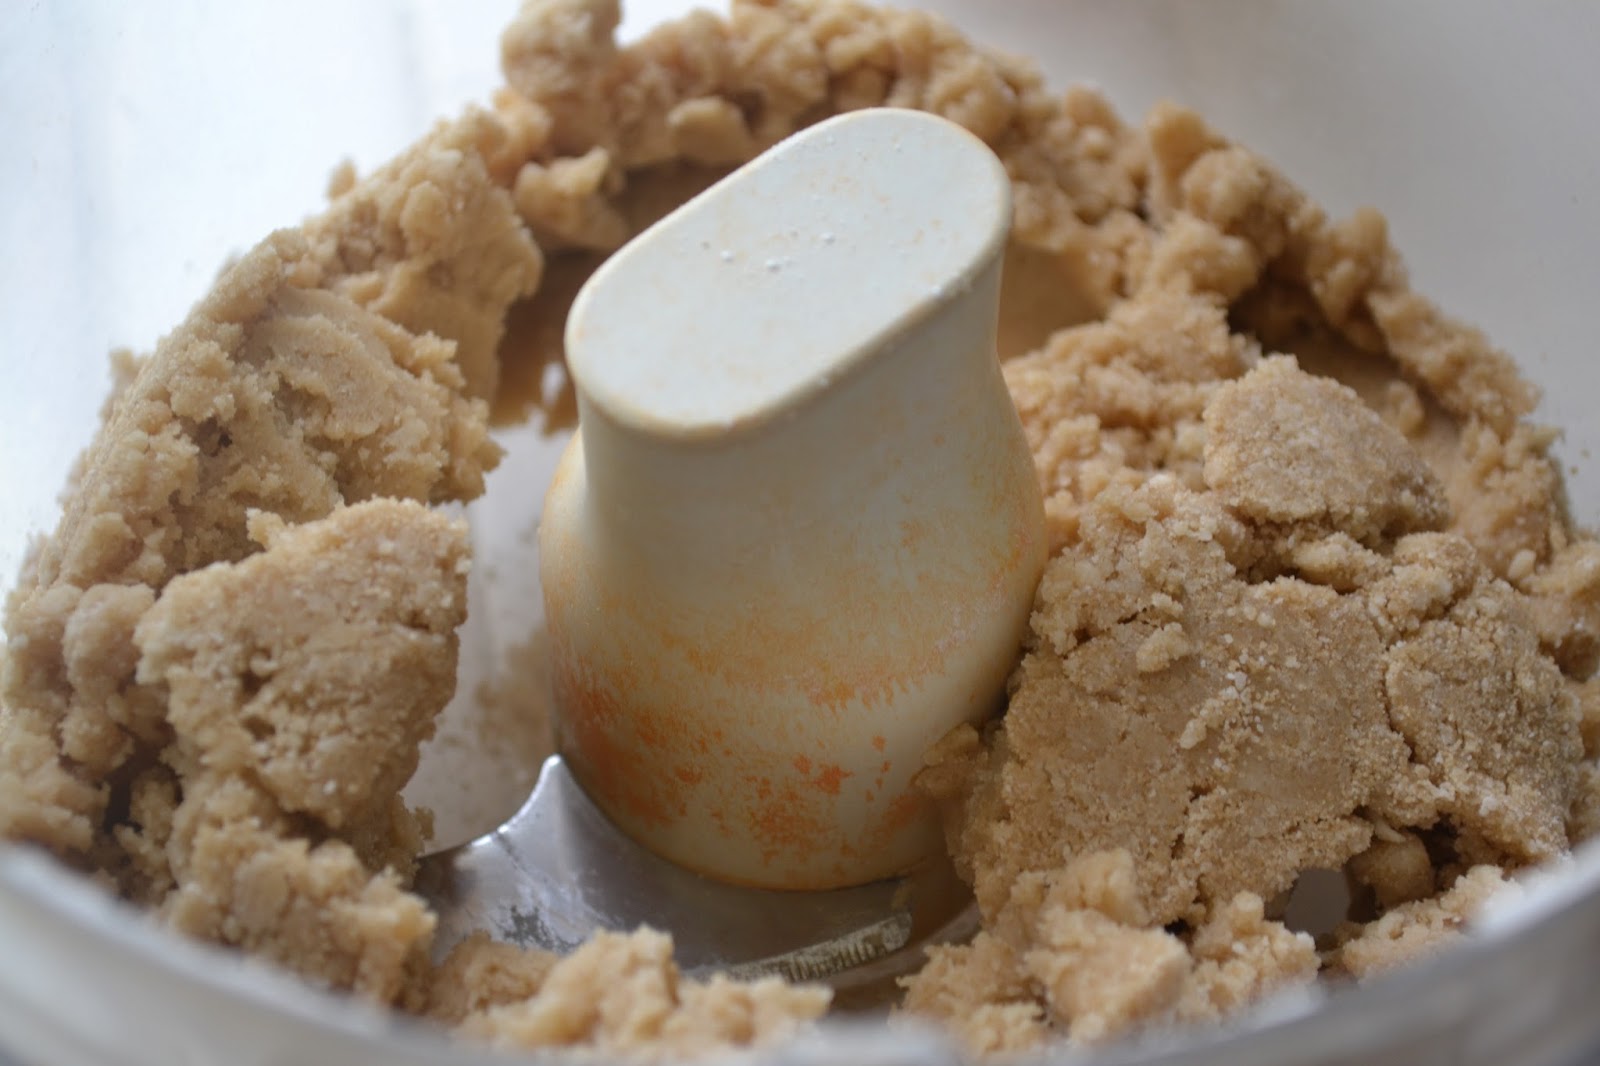
2. Cream the shortening and butter together using a the paddle attachment.
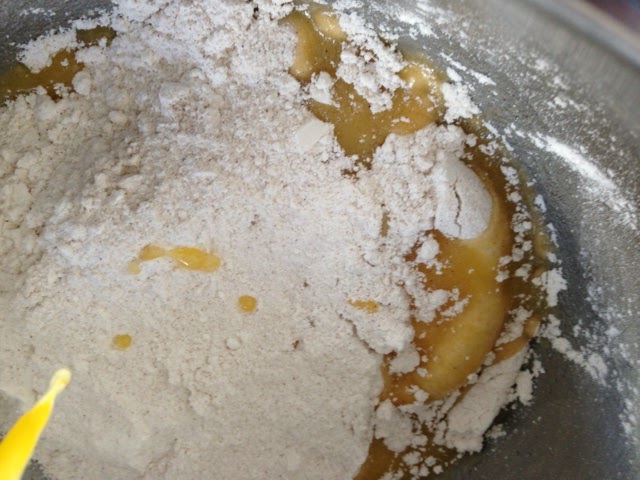
 

3. Add flour and beer to the shortening mixture in three parts, until mixture is a nice, thick dough.


4. Switch the mixing attachment to dough hook. Mix 2 minutes.


5. Put dough in a bowl, and hand knead for about 1 minute.
 

6. Taking pieces of dough, make into 1 inch balls and set on a cookie tray lined with wax paper.
 

7. Once you done making all the balls, set to rest for 1 hour.


While dough is resting make the homemade filling:

8. In a medium saucepan, combine blueberries, sugar, cinnamon, lemon juice. Cook over medium heat.
 

9. Mix the cornstarch and water in a small bowl and set aside.

10. Once the blueberries start to boil, stir in the cornstarch mixture. Bring to a boil and boil for about 2 minutes. Set aside and allow to cool completely.
(best result, make the jam the day before)


Assemble the tarts:
 

Preheat oven to 350 degrees:


11. After the dough balls have been resting for an hour, take a tortilla press and press each ball into 4” circle (if you do not have a tortilla press, use two pieces of wax paper and a rolling pin)


12. Add 1 teaspoon of filling to the center of disk.


13. Using your finger tip, dip in half and half mil and brush the edges of the disk.

14. Fold each circle in half over the filling. Use your finger tip to press the edges gently to seal.


15. Place on cookie tray lined with Parchment paper.

16. Crimp each tart with the tines of a fork. 
 

17. Brush each tart with the sweetened condensed milk and sprinkle with Turbinado sugar.


18. Bake for 23-26 minutes.  Tops will be light golden brown.
 

19. Cool for 15 minutes, ENJOY!


Saturday, July 13, 2013

Petite Strawberry Cakes (or muffins if you eat them in the morning!)

These little cakes are special; they deserve a cozy spot in a sunlit corner with you cuddled up in your favorite easy chair with a pot of tea and a good book. They're perfect for tea time or brunch with the girls - light and delicate, not too sweet with a hint of orange zest and a slight crunch from the sprinkling of Turbinado sugar. The strawberries are baked on top of each cake and topped with a vanilla bean glaze.
 
If you're like me and you bake these cakes in the morning and can't wait for tea time or dessert time, just call them muffins! No one will ever know you're eating dessert for breakfast!


Petite Strawberry Cakes (aka Strawberry Muffins)
Makes 9 small cakes

Ingredients:
1 cup all purpose flour
1 1/2 teaspoon baking powder
1/8 teaspoon salt
1/3 cup light brown sugar
1/2 cup unsalted butter (1 stick), room temperature
1 large egg, room temperature
2 teaspoons fresh orange zest
1/3 cup buttermilk
Approx 5 small-medium size strawberries, sliced
3 tablespoons turbinado sugar (or Sugar in the Raw)

Glaze Ingredients:
1 cup powdered sugar
1/2 teaspoon vanilla bean paste
1-2 tablespoons heavy whipping cream (or milk)

Directions:

Preheat oven to 350f

Generously spray muffin tin with non-stick cooking spray.

In a small bowl, whisk the flour, baking powder and salt. Set aside.

Using your stand mixer fitted with the paddle attachment, cream the brown sugar and butter at medium speed until light and fluffy (approx. 2 minutes).

Add the egg, vanilla and orange zest and mix on low speed until combined. Scrape down the bowl with a rubber spatula.

With the mixer running on low speed, alternate adding the flour mixture and buttermilk - start with 1/3 of the flour mixture, add 1/2 of the buttermilk and repeat. Mix just until combined, do not overmix.

Divide the batter evenly between the prepare muffin cups (I got 9 cakes).

Arrange 2 slices of strawberries on top of the batter in each cup and press them slightly into the batter. Sprinkle evenly with the Turbinado sugar.


Bake approx. 20 minutes or until done (test with a toothpick).


Remove from oven and allow to cool in the pan for just a few minutes then carefully and gently remove them and place on a cooling rack to cool completely. Tip: If you notice a lot of liquid pooled around the strawberries when you remove them from the oven, take a tip of a paper towel and soak up a little of the extra liquid so your cakes don't get too mushy.


While the cakes are cooling, make the glaze
Combine all of the ingredients in a medium size bowl. Adjust to desired consistency.

Lightly drizzle the glaze on the cakes and enjoy!

Monday, July 1, 2013

German Chocolate Whoopie Pies

June seems to be a popular month for German Chocolate. I've probably already mentioned that both my sister Freda and Yvonne's birthdays fall within the same week in June and they both love German Chocolate Cake so I usually try to make something following the German Chocolate theme. We've already posted recipes for German Chocolate Cupcakes and German Chocolate Cookies so I thought, why not combine them into a Whoopie Pie? Kinda like cupcake and cookie all in one...
 
These German Chocolate Whoopie Pies turned out great. The filling is to die for (I could eat it alone with a spoon) and I used Dutch Process Cocoa Powder for the chocolate cookie, which is darker and has a more mellow flavor. David Lebovitz has a great article explaining the difference between Dutch Process and Natural Cocoa Powder.
 
If you have a German Chocolate lover in your life, I hope you give this recipe a try!


German Chocolate Whoopie Pies
Makes approx 10 Whoopie Pies
 
 
Whoopie Pie Ingredients:
1 stick unsalted butter, softened
1 cup light brown sugar, packed
1 large egg, room temp
2 teaspoons vanilla extract
2 cups all purpose flour
1/2 cup Dutch Process Cocoa Power
1 1/2 teaspoons Baking Soda
1 teaspoon salt
1 cup Buttermilk
 
Coconut Pecan Frosting Ingredients:
One 12 oz can evaportated milk
3 egg yolks
1 1/4 cup light brown sugar, packed
1 1/2 sticks unsalted butter
2 2/3 cups sweetened flaked coconut
2 cups pecans, toasted and coarsely chopped
1/4 teaspoon salt
1 teaspoon vanilla extract
 
 
Directions:
 
Make the Coconut Pecan filling:
 
Follow the directions here and allow to cool to room temperature. You can also make the filling a day or two ahead of time and bring to room temperature before using.
 

** Note: This recipe makes more filling than you will need for a single batch of Whoopie Pies. You can either make a double batch of Whoopie Pies or use the extra filling to frost cupcakes. Or, if you're like me, eat it straight from the bowl with a spoon! :)
 
Make the Whoopie Pies:
 
Preheat oven to 350f
 
Spray a Whoopie Pie pan with nonstick cookie spray. If you don't have a Whoopie Pie pan (aka Muffin Top Pan), you can use a regular cookie sheet, but I recommend using a cookie scoop to make sure the cookies are uniform. Also, note the cookies may spread a little more on a cookie sheet vs. the Whoopie Pie Pan. They'll be a little thinner and may need shorter baking time, but they will still taste delicious.
 
In a medium size bowl, combine the flour, cocoa powder and baking soda. Set aside.
 
In the bowl of your stand mixer fitted with the paddle attachment (or in a large bowl using your hand mixer), cream the butter and sugar together until light and fluffy (approx 2 minutes).
 
Add the egg and mix to combine.
 
Add 1/3 of the flour mixture, mix just until combined, then add 1/2 of the butter milk and mix just until combined. Repeat the process, ending with the last 1/3 of the flour mixture.
 
Scoop approx 1/4 cup of batter into the prepared Whoopie Pie Pan. Bake approx 10-12 minutes or until the tops spring back when lightly pressed.
 
Cool in the pan for 1 minute them remove to a wire cooling rack to cool completely.
 
Assemble the Whoopie Pies:
Spread the room temperature Coconut Pecan filling on top of the flat part of one Whoopie Pie. Place the other Whoopie Pie on top with the flat part facing the filling.


Enjoy!
 
Store individually wrapped with plastic wrap for up to 2 days.
 
If you don't eat them all, you can even give them as gifts (like I did!).


Recipe Adapted from: About Southern Food

Wednesday, June 12, 2013

Toasted Coconut and Raspberry Oatmeal Bars

This Triple Berry Shortbread Bar recipe is by far my favorite bar recipe. If you haven't tried it yet, I HIGHLY recommend it. It really is life changing....seriously. The combination of the butter, almond flour, triple berry jam and toasted almonds is amazing. One bite of these bars and you're hooked!
 
This new bar recipe is also on the top of my list. Instead of almond and triple berry jam, it has a delicious combination of toasted coconut, oatmeal and raspberry jam....yum. I hope you'll give this recipe a try.


Toasted Coconut and Raspberry Oatmeal Bars
Makes one 13"x9" pan (approx 16 bars)
 
Ingredients:
1 1/2 cups coconut (3/4 cup toasted, 3/4 cup untoasted)
1 1/4 cups all purpose flour
3/4 cup brown sugar
1/2 teaspoon salt
1 1/2 cups old fashioned oats
3/4 cup unsalted butter, cold cut into cubes
12 ounces seedless raspberry jam
 
Directions:
 
Preheat oven to 375
 
Line a 13"x9" pan with nonstick foil or spray regular foil with nonstick cooking spray.
 
Put the raspberry jam in a bowl and stir well to loosen. This will make it easier to spread in an even layer instead of in clumps.
 
In the bowl of your food processor, combine the flour, sugar,  and salt and pulse until combined.
 
Add the cold, cubed butter and pulse until a dough forms.


Transfer the dough to a large bowl and add the oatmeal and 3/4 cup of toasted coconut. Incorporate with your hands until combined.
 
Save 3/4 cup of dough. Transfer the remaining dough to the prepared pan and press into an even layer.


Spread the raspberry jam on top of the dough and spread into an even layer.
 
Crumble the remaining dough on top and sprinkle with the untoasted coconut.


Bake at 375 for approx 25-30 minutes or until golden brown.


Remove from oven and transfer to a cooling rack to cool completely. Cut into bars and serve.


Leftovers can be stored at room temperature in an air tight container for 2-3 days.
 
 
Adapted from: Epicurious


Monday, June 10, 2013

India inspired Mango Bread


India inspired Mango Bread
 

Faye and I both have the privilege to be able travel with our careers.  In April and May, both Faye and I were in Hong Kong, China and India separately.  With both of us being foodies, we love the opportunity to see how other cultures eat and cook. In my recent trip to India (wonderful, loving people!), I was treated to some delicious Indian mangos!  So with  mangos on my mind, I created this yummy mango bread.  I kept the mango as true to itself as possible (in other words, not making it into a pulp). I wanted to make sure everyone knew the type of bread they were eating. The flavor of fresh mango, baked into a bread with a little hint of spice.  I hope you enjoy this recipe!


Bread Ingredients:

2 cups all purpose flour

2 teaspoons cinnamon

1 teaspoon ginger

2 teaspoons baking soda

½ salt

1 cup white sugar

2 large eggs

¾ cup vegetable oil

2 cups mango (about 2 large mangos)


Glaze Ingredients:

2 cups powder sugar

2-3 tablespoons guava juice


Directions:

1. Can an 8"x4 ½" loaf pan with nonstick cooking spray.

2. Slice mango as close to the seed as possible.  Cut the slices into cube size pieces. Set aside.
 

3. In a medium size bowl, combine flour, cinnamon, ginger, baking soda, salt and sugar.  Mix till well combined. Set aside.

4. In a large bowl, beat eggs with oil till combined.

5. Gradually add flour mixture to egg mixture till all combined.
 

6. To batter add, fresh mango and mix with a spoon till combined.

7. Pour batter into bread pan.
 

8. Bake for 1 hour, remove from oven and cool.


While bread is cooling, make the glaze:

9. In a small bowl, combine powder sugar with guava juice.  Gradually add the grava juice till the consistence is thick but still thin enough to pour.
 

10. Once bread is cool, pour the glaze over the bread and let dry.

ENJOY!!!

Tuesday, June 4, 2013

Banana Boat Cupcakes

Banana Boat Cupcakes


Yumm.. The Campbodians famous Banana boats! What is a Banana boat? That is what I said the first time I heard of it, well…it’s a camping treat my boyfriend's friends (referred to as the Campbodians= a group of Pilipino men that love VW buses and camping) have been making for years. Picture this…a banana stuffed with pieces of chocolate, marshmallows and topped with graham cracker crumbs and sprinkled with cinnamon , wrapped in foil and cooked over an open fire till the bananas are warm and the chocolate and marshmallows are nice and soft and gooey . Pure heaven. Well, I have been craving these for awhile. Earl was nice enough to make them for my family a few weeks ago and they were a hit! But I kept thinking how to make these favors into a bake good. Well, I created a banana-cinnamon cupcake stuffed with chocolate pieces frosted with a marshmallow frosting and sprinkled with graham cracker crumbs, the birth of the BANANA BOAT CUPCAKE. There is nothing like a banana boat over a open fire, but this cupcake is delicious. The flavors are so good and the frosting is AMAZING! I really hope you give this cupcake a try.


Ingredients: (cupcake base is an adaption of Gina Neelys banana cupcake)


1 cup flour

½ teaspoon baking powder

½ teaspoon baking soda

1/8 teaspoon salt

2 teaspoon cinnamon

1 stick sweet cream butter (room temp)

½ cup white sugar

¼ cup sour cream

2 large eggs (room temp)

2 large ripe bananas (not overly ripe)

1  3.5 oz large chocolate bars broken into pieces


Ingredients: Frosting

1 cup of butter

2 teaspoons vanilla

1-7 oz jar Marshmallow cream
 

2 cups powder sugar

¼ cup half and half milk

½ cup graham cracker crumbs

Banana chips for decorating (optional)


Pre-heat oven to 350

Prep-work:

a. Line cupcake pan with 12 cupcake .Spray with oil
b. Mash banana


1. In a small bowl, combine flour, baking powder,baking soda, salt and cinnamon. Mix and set aside.


2. In large bowl, beat butter with sugar.


3. Beat in Sour cream and vanilla.


4. Beat in eggs until all well combined


5. Add half the ingredients and beat in till combined, then beat in the other half. Do not over beat.


6. Beat in the mashed banana to batter. DO NOT OVER BEAT, just till combined.


7. Fill cupcake liners ¾ full.


8. Once all the cups are filled.  Add one square of chocolate in the middle of each cup. Batter will push up a bit on the sides.


9. Take a spoon and cover the chocolate with the batter that pushed up.


10. Bake for 20 minutes

11. Once removed from oven, wait about 3-5 minutes then transfer each cup to a  cooling rack. Cool completely.


While the cupcake are cooling…make frosting.


A. Beat butter until it is smooth.


B. Add vanilla and marshmallow cream till all combined.


C. Gradually add powdered sugar at low speed.


D. Add half and half and beat at high speed till nice and fluffy.


E. Frost and decorate as desired. I used a ziplock bag, cut off at the end and fitted with a decorating tip.


F. Sprinkle the graham cracker crumbs

G. Top with a banana chip

ENJOY!!