Tuesday, May 29, 2012

Special Occassion Cakes


Graduation season is upon us and in my family that means birthday season as well. With all of the special events coming up, Yvonne and I decided to get together this weekend and focus on special occassion cakes.

My son, Nick, will be graduating from High School this week so I wanted to develop a recipe for a Strawberries & Cream cake. Nick loves lighter desserts, especially those made with fresh strawberries and whipped cream so I thought a light & airy vanilla cake with a vanilla cream and strawberry filling and a light whipped cream cheese frosting would be a perfect dessert for his Graduation dinner. Since this cake requires several different components, I decided to make things easier on myself and take a short cut using a boxed mix. I am normally not a fan of boxed cake mixes (and sometimes making a cake from scratch is just as easy), but believe me, with the simple addition I made to the cake batter paired with the vanilla cream and fresh strawberry filling, this cake did not taste like it came out of a box at all. Both fillings are very versatile and can be used for a wide varienty of cakes. In fact, I also made a homemade Strawberry Cake this weekend for my son Chris's birthday and used the same strawberry filling and whipped cream cheese frosting recipes to make it extra special.

Yvonne was inspired by her recent trip to Hong Kong where she enjoyed the sights, sounds and flavors of Asia.


Her Asian inspiration cake is a moist and delicious Green Tea Cake paired with a light-as-air Raspberry Mousse Filling and tangy Green Tea Cream Cheese Frosting. The unique flavor of the green tea paired with the delicious raspberry filling definitely makes this cake worthy of any special occassion. Yvonne's cake truly captures the flavor and beauty of Asia.


Green Tea Cake w/Raspberry Mousse Filling and Green Tea Cream Cheese Frosting
Adapted from All Recipes
Makes one 8" Cake, Serves 10-12 people

Note: Make the Raspberry Mousse and Green Tea frosting before baking the cake since they both need to cool/set. Both can be made a day ahead.

Cake Ingredients:
1 cup all-purpose flour
1 cup cake flour
1 teaspoon baking soda
1 teaspoon salt
4 teaspoons green tea powder
1 1/4 cup granulated sugar
1 cup vegetable oil
3 large eggs at room temperature
1 cup plain yogurt at room temperature
1 1/2 teaspoons vanilla extract

Mousse Ingredients:
10 oz frozen raspberries
1 cup sugar
1 package unflavored gelatin
1 1/2 cups heavy whipping cream

Frosting Ingredients:
2 1/2 cups powdered sugar
3 teaspoons green tea powder
4 tablespoons unsalted butter, softened
6 ounces of cream cheese, softened
1 teaspoon vanilla extract
3 teaspoons heavy cream

Cake Directions:

Preheat oven to 350

Grease and flour two 8" round cake pans

Sift both of the flours, the baking powder, salt and green tea powder together into a medium bowl. Set aside.


In the bowl of an electric stand mixer fitted with a whisk attachment, beat together the sugar, oil and eggs at medium speed until smooth. Stir in the vanilla extract.

Beat in the flour mixture, alternating with the yogurt , mixing just until incorporated.


Divide batter evenly between the prepared cake pans.

Bake at 350 for 30-35 minutes or until toothpick inserted in center comes out clean. Place pans on wire rack to cool for 30 minutes, then remove from cake pans and allow to cool completely.

Make the Raspberry Mousse:

Place the frozen raspberries, sugar and unflavored gelatin in a saucepan and simmer over medium heat until the raspberries break down and the mixture thickens. Strain through a fine mesh sieve to remove seeds. Allow mixture to cool.

In the bowl of an electric stand mixer, whip heavy cream until stiff peaks form. Gently fold in the cooled raspberry mixture. Refrigerate until ready to use.

Mousse is best used the same day it is made, but will last as a filling in cake for 2-3 days.


Make the frosting:

Sift the powdered sugar and green tea powder together into a large bowl. Set aside.

In the bowl of an electric stand mixer fitted with the whisk attachment, cream the butter and cream cheese together until smooth. Add the powdered sugar, vanilla and cream. Start mixer on low speed to incorporate the powdered sugar then increase speed and mix until ingredients are well incorporated. Refrigerate frosting for 30-40 minutes to set. Remove and check consistency before frosting your cake. If you prefer a thicker consistency, returm frosting to the mixing bowl and mix in more powdered sugar until you reach your desired consistency.


Assemble the cake:

Cut each cooled cake evenly in half, making a total of 4 layers. Place the bottom layer on a cake stand and top with 1/3 of the mousse. Repeat the layers.


Spread the frosting on the outside of the cake and decorate as desired. Yvonne decorated her cake with a traditional cherry blossom pattern. So pretty!


Take a look at the inside of the cake. Aren't the colors gorgeous?


Store leftovers covered in the refrigerator for up to 2 days.


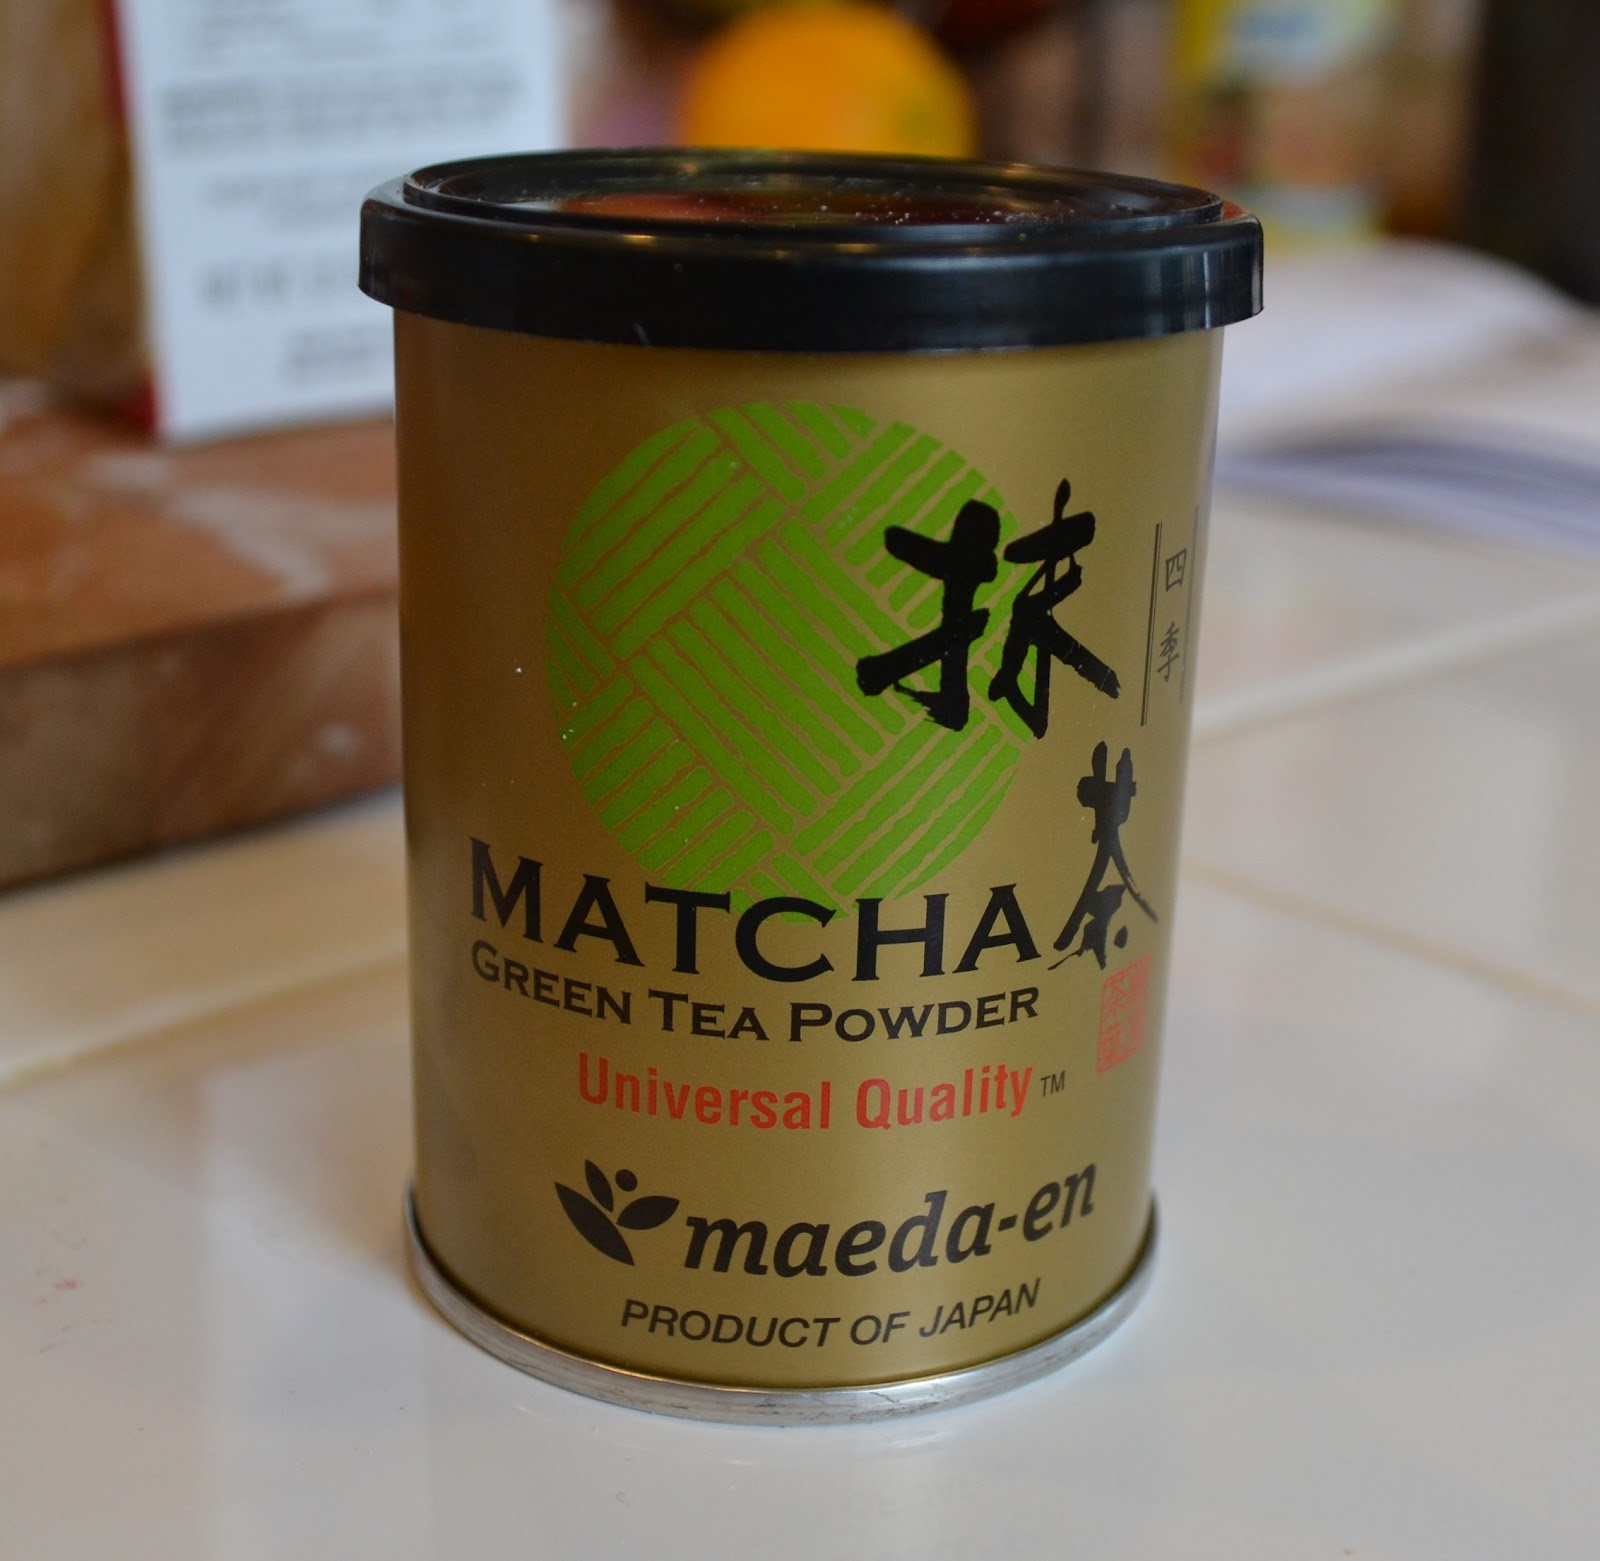
Note: This is the brand of Green Tea used in this recipe. It can be found at Whole Foods.


Strawberries & Cream Cake
Adapted from Un deux sens
Makes one 8" or 9" cake, serves 10-12 people


Cake Ingredients:
1 box Super Moist Vanilla Cake Mix w/pudding in mix
1 teaspoon vanilla bean paste


Vanilla Pastry Cream Ingredients:
1 small box (3 oz size) instant vanilla pudding
1 cup whole milk
1/2 cup heavy cream
1 teaspoon vanilla extract


Fresh Strawberry Filling
1 1/2 cups sliced strawberries
1/4 cup water
1/4 cup sugar
1/2 tablespoon cornstarch
1/2 tablespoon fresh lemon juice

Whipped Cream Icing Ingredients:
8 ounces cream cheese, softened
1 1/2 cups powdered sugar
1 tsp vanilla extract
1 cup heavy cream


Decorations: Chocolate Covered Strawberries, 2 containers of Pepperidge Farm Pirouette cookies (I used vanilla).


Directions:

Preheat oven to 350

Grease and flour two 9" cake pans

Prepare cake mix according to directions but add in 1 tsp vanilla bean paste. Bake according to package directions and allow to cool.

Prepare the fillings:

Strawberry Filling

Place 3/4 cup of the strawberries, the water, sugar, lemon juice and cornstarch in a medium sauce pan. Cook over low heat until strawberries break down and the mixture is thickened. Fold in the remaning sliced strawberries. Remove from heat and allow to cool. The mixture should be a thick spreadable consistency. Place in refrigerator and allow to chill until ready to use.

Vanilla Cream Filling:

Place all ingredients in a bowl and whisk until thickened. Place in refrigerator and allow to chill for approx 30 minutes. Keep refrigerated until ready to use.

Prepare Whipped Cream Cheese Frosting:

Place the softened cream cheese, powdered sugar and vanilla in  a large mixing bowl. Using an electric hand mixer, mix on low speed until the powdered is incorporated then increase speed to medium and continue mixing until light and fluffy. Set aside.

In the bowl of a stand mixer fitted with a whisk attachment, whip the heavy cream until stiff peaks form. You want the whip cream to be nice and stiff but don't overbeat.

Add the cream cheese mixer to the bowl with the whipped cream and whip for a few seconds to incorporate. Chill until ready to use.

Assemble the cake:

Place the first layer on a cake stand. Pipe a small border of frosting around the top of the cake to act as a border for the filling. Spread half of the vanilla pastry cream in an even layer inside the border then top with the strawberries filling.

Place the second cake layer on top. Spread the remaining vanilla pastry cream on top.

Frost the sides of the cake and immediately place the cut Pierette cookies around the sides. Dollop some of the frosting on top and spread being careful not to disturb the pastry cream.

Decorate the top of the cake with the chocolate covered strawberries and some crushed up cookies. Wrap with a ribbon and tie a bow if desired.

Place cake in the refrigerator for 1 hour to set before serving. Leftovers should be stored covered in the refrigerator for up to 2 days.


Wednesday, May 23, 2012

My Favorite Meatloaf


Many of the recipes I share on this blog are recipes that changed my opinion about certain foods. They're recipes I love to make for my family and friends and it makes me so happy to be able to share them with you. Today I'm sharing the recipe for my favorite meatloaf. I always thought of meatloaf as just one of those traditional American dishes that you threw together in a bowl, baked in the oven and served with a side of mashed potatoes or mac & cheese. While good, it was always just kind of blah and never anything I looked forward to....until I made this meatloaf.

This recipe starts off with a delicious chunky, homemade tomato sauce that not only goes into the meatloaf but gets slathered on top. Then, thick-cut hardwood smoked bacon is layered over the tomato sauce which bathes the meatloaf in smoky bacon-y goodness as it bakes. And just when you thought it couldn't get any better, there's a secret trick! Instead of bread crumbs, I use slices of bread soaked in milk to bring it all together. The milk-soaked bread literally disintegrates into the meat making it super moist.

The next time you have a craving for this all-american comfort food classic, PLEASE try this recipe. It is so delicious you will be happy you did!

My Favorite Meatloaf
Adapted from Food Network
Makes 1 large meatloaf, serves 6 people

Tomato Sauce Ingredients:

2 tablespoons Extra Virgin Olive Oil
1/2 large onion (or one small onion) finely diced
3 garlic cloves, minced
2 bay leaves
1 large red bell pepper, finely diced
3 Roma Tomatoes, seeded and diced
1/4 c fresh flat leaf parsley, chopped
1 1/2 cups ketchup
1 T Worcestershire Sauce
1/2 tsp kosher salt
1/4 tsp freshly ground black pepper

Meatloaf Ingredients:

3 slices white bread, crusts removed and torn into large chunks
1/4 c milk
1 1/2 lbs ground beef
1 lb ground pork
2 eggs
1 tsp fresh thyme or 1/2 tsp dried thyme
1 tsp kosher salt
1/2 tsp fresh ground black pepper
4-5 slices of thick cut bacon, cut in half

Directions:

Make the tomato sauce:

In a large skillet, heat 2 tablespoons of extra vigin olive oil over medium heat. Saute the onion, garlic and bay leaves for a few minutes. Add the diced red bell peppers and cook for 2-3 minutes to soften. Add the diced tomatoes, then stir in the parsley, ketchup, worcestershire sauce and salt & pepper. Stir to combine. Reduce heat to low and simmer for 5 minutes stirring occassionally. Remove from heat and allow to cool. Remove bay leaves.

Makes about 3 1/2 - 4 cups of sauce.


Assemble the meatloaf:

Preheat oven to 350.

Line a rimmed baking sheet with foil.

Put the bread chunks in a small bowl and pour the milk over the bread. Allow to sit while you assemble the rest of the meatloaf.


In a large bowl, put the ground beef, ground pork, eggs, 1 1/2 cups of the tomato sauce, thyme and salf & pepper.


Using your hands, gently combine the mixture. Gently squeeze the excess milk from the bread and add the bread to the bowl. Using your hands, gently combine the bread into the meat mixture. Note: Like meatballs, you want to handle the meat mixture gently and not overwork it.


Place the meat mixture on top of the foil and shape into a loaf approx 11"x4" (loaf size is up to you but try not to make it too tall).  Spread approx 3/4 cup of the tomato sauce over the top of the meatloaf. Lay the bacon slices on top of tomato sauce in a single layer.


Bake at 350 for 1 hr 15min to 1 hr 30 minutes, rotating the baking sheet halfway through the cooking process to ensure the bacon cooks evenly. The bacon should be crisp and meatloaf should be firm.


Remove from oven and allow to cool approx 15 minutes. Using 2 large spatulas, remove the meatloaf from the baking sheet and place on a cutting board or platter. Using the bacon slices as your guide, slice with a sharp or serrated knife (between the slices of bacon).

Serve with the remaining tomato sauce on the side if desired.


Note: Since the extra tomato sauce may be served on the side, make sure you do not contaminate the sauce with any of the utensils you use on the meat.

Store leftovers tightly covered in the fridge and reheat in the microwave.

Monday, May 21, 2012

RASPBERRY CREAM CHEESE TART

RASPBERRY CREAM CHEESE TART

Cream cheese is one of my favorite ingredients to bake with since it’s so versatile.  It can create very tasty savory recipes  -  for example -  Crab Puffs,  to amazing sweet recipes like my RASPBERRY CREAM CHEESE TART. 
This recipe is actually a take on a recipe my Tia Conchi makes for Christmas.  A very basic cheesecake filling supported by a delicious graham cracker crust.   I decided to make this into a tart since I love cheese cake, but sometimes it is just too much all at once.   By making it as a tart, you get to enjoy the whole idea of cheesecake without having to eat a huge slice of it.  Trust me, there are days when I want that thick slice of cheesecake, but for those days I want just a bite …… this is the perfect recipe.   I have added fresh raspberries, since cheesecake and raspberries are a great combination.  I think the picture speaks for itself, it’s creamy and sweet with a burst of freshness from the berries.  
Happy Cooking Everyone!


Ingredients for the crust:
1 ½ cup crushed graham crackers (about one pack from the box)
6 tablespoon melted butter
1/3 cup sugar
A pinch of nutmeg (optional)
Ingredients for the filling:
2 - 8oz packs of cream cheese
3 large eggs
¼  cup sugar
1 can of sweetened condensed milk (NOT evaporated)
2 tablespoons of fresh lemon juice (about 1 lemon)
½ teaspoon vanilla
1 pint fresh raspberries
1 -10 inch tart pan


Temp for crust: 375 degrees
1.       Using a food processor, crush the graham crackers until they are a fine crumb. (note, if you do not have a food processor, take a large plastic bag, add the graham crackers, remove air from bag and seal.  Using a rolling pin, roll over the crackers until they are crushed to a small crumb)
2.       Add the melted butter, sugar and nutmeg. Pulse until well blended.
3.       Pour crust mixture into tart pan.  Using your fingers, spread mixture until the bottom of the tart pan is covered.  Press softly.
4.       Bake at 375 for 8 minutes, crust will appear golden brown
5.       Cool crust while you make the filling
Oven Temp for tart: 350 degrees
6.       In a large bowl, beat together the cream cheese using a hand mixer for about 2 minutes until it is creamy.
7.       Add eggs to cream cheese mixture, one egg at a time until all eggs are well incorporated.
8.       Beat in sugar and sweetened condensed milk.
9.       Add lemon juice and vanilla.  Beat until blended.  Mixture will have the consistency of yogurt.
10.   Pour cream cheese mixture over graham cracker crust.
11.   Place individual raspberries into the cream cheese mixture going in a circle about every two inches (tops will show) .
12.   Bake at 350 degrees for 30-35 minutes (until the center is set)
13.   Turn oven off and prop open oven door with a wooden spoon.   Leave in oven for 1 hour.

14.   Remove from oven and cool for another 30 minutes.
15.   Refrigerate.

Wednesday, May 16, 2012

C's Cookies


C’s Cookies
 [Cherry - Chocolate Chip - Cornmeal] (adapted from David Lebovitz)

I love it when I go to the kitchen, open up my pantry, look around and think ……

 “What am I going to create tonight?” 

That is exactly how this recipe started.
 

I had Cornmeal - left over from a previous cornbread recipe, Dried Cherries I had bought to make bread pudding, and Chocolate Chips - which are always in my pantry, since you never know when a chocolate chip cookie craving will strike J.   Add a nice fresh orange from a local grove and POOF, you’ve got magic. 

This recipe actually came together very easily and the results were delicious!  The basic cookie is like an Italian Zaletti - a cornmeal or polenta cookie.   My 3 C’s Cookie is perfect with a cup of coffee or a nice glass of milk.  Cherry, chocolate and orange are just made to go together.  The texture is hardy and the flavors complement each other perfectly.   You might not have all these ingredients readily available in your pantry, but I encourage you to pick them up and give this recipe a try.   I love when I can recommend a recipe I personally really enjoy.  Give my new creation a try and let me know what you think. 

Happy cooking everyone!

3 C’s Cookies


*note:  Plan ahead, dough is refrigerated overnight*

Ingredients

½ cup chopped dried cherries

½  cup chopped semi- sweet chocolate chips

1 tablespoon orange zest

2 tablespoons flour

½ cup plus 2 tablespoons sweet cream butter (softened)

½ cup plus 3 tablespoons sugar

3 medium eggs (or two Large eggs)

1 ½ all purpose flour

1 cup yellow cornmeal

2 tablespoons baking soda

¼ cup Turbinado sugar (optional)
Plastic wrap

*note:  Plan ahead, dough is refrigerated overnight*

1.       Chop the dried cherries and chocolate chips. Put into small bowl


2.       Zest one large orange, adding to the bowl with cherries and chocolate chips.

3.       Add 2 tablespoons of flour to the bowl.  Toss the cherries, chocolate chips and orange zest with the flour until the zest is completely coated. Set aside.


4.       In a large bowl, cream the butter with a hand mixer.   Add the sugar and mix for about 1 to  2 minutes.


5.       Add eggs to butter mixture, one at a time. Mix until all is well incorporated.


6.       In a medium size bowl, combine flour, cornmeal and baking soda.  Using a whisk, stir all these ingredients together until they are combined.


7.       Gradually add the flour mixture into the butter mixture with your hand mixer on low.   Mix until all ingredients are combined.


8.       Stir the cherry/chocolate/orange mixture into the cookie dough.


9.       Cut out a 12-inch piece of plastic wrap and lay on your counter


10.   Taking the dough, mold dough into a 4 inch width by 7 inch length log and lay on the plastic wrap.   Cover the dough with the plastic wrap completely.


11.   Refrigerate dough overnight.

12.   Remove dough from refrigerator. Using a large spoon, cut off 1 ½ inch pieces of dough from the log.  Roll each piece into a ball. Using a large drinking glass, press down to form a disk about ¼ inch thick.


13.   Place disks on a greased cookie sheet.  Leave 2 inches between each cookie.

14.   Sprinkle each cookie with the Turbinado sugar.


15.   Bake for 12 minutes at 325 degrees.  Cookies will be golden brown and firm in the middle.

16.   Remove cookies from tray and place on a rack to cool.

17.   Enjoy!!!